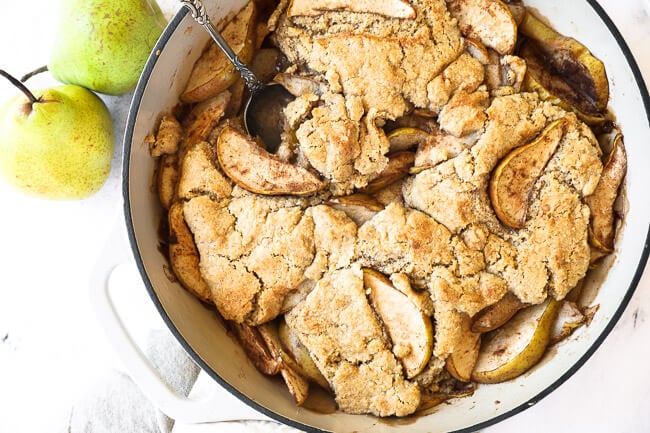
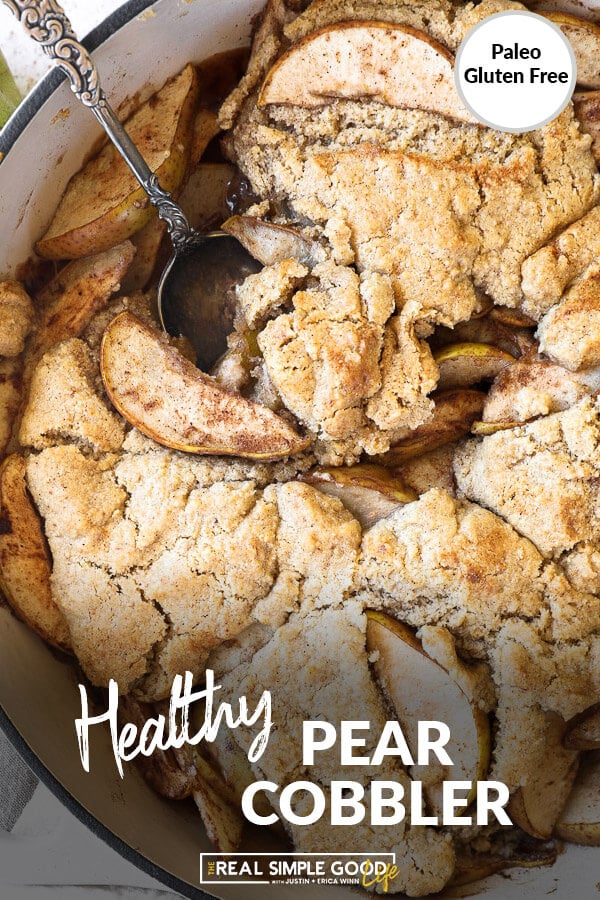
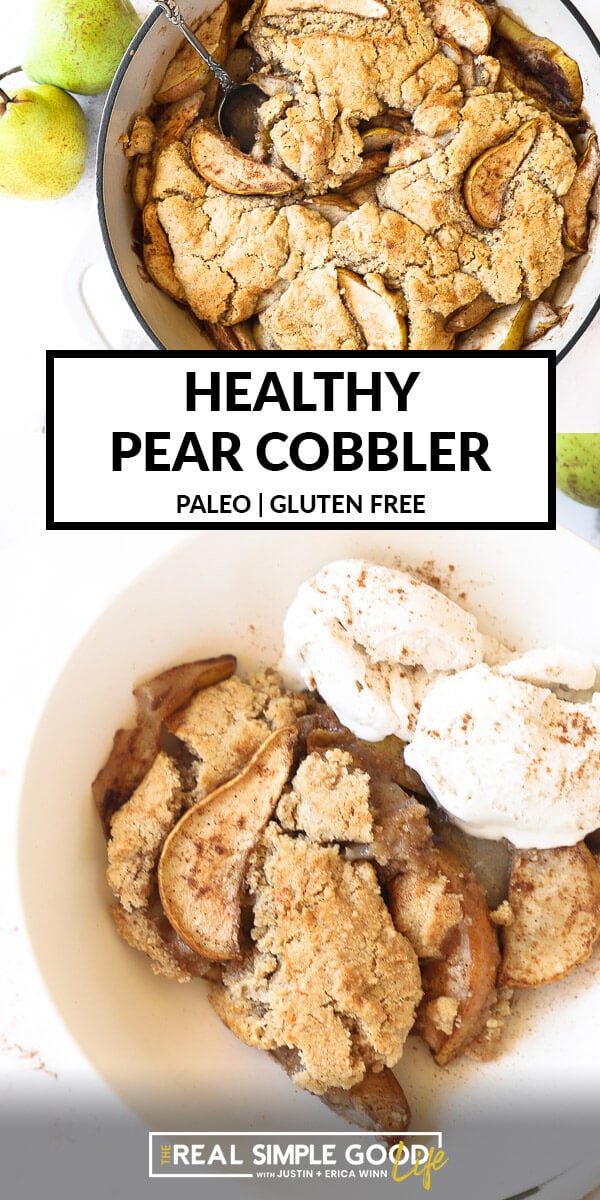
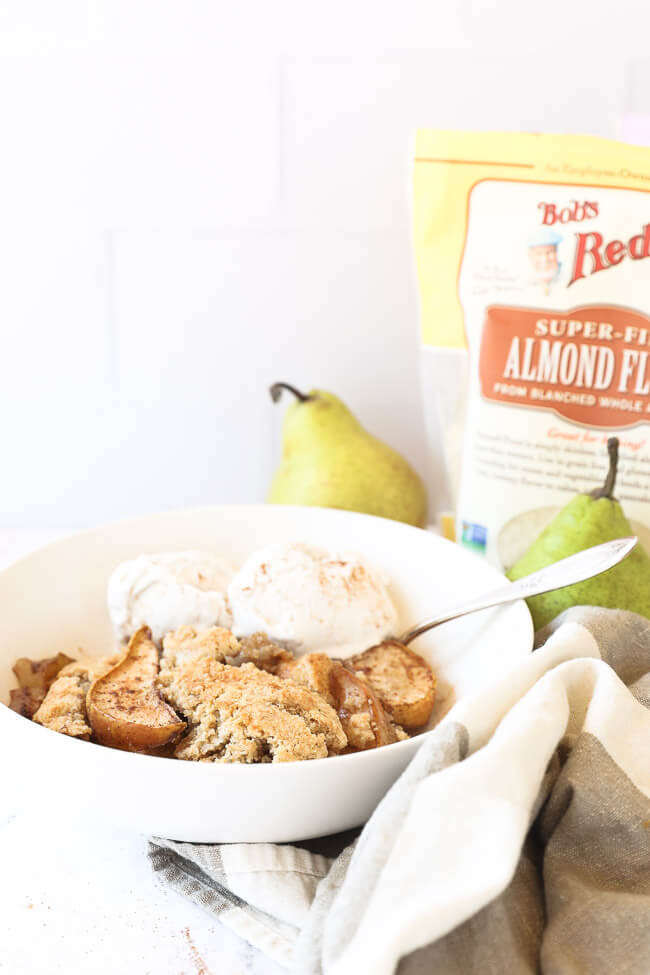
This easy pear cobbler recipe is gluten free and healthier, with Vegan options. It’s made with almond and tapioca flours and sweetened with maple or coconut sugar. You will love the cozy and warming cinnamon and spices, paired with your favorite pears.
Disclaimer: We partnered with Bob’s Red Mill to bring you this post. We only work with companies and brands we truly believe in and use ourselves. Therefore, all opinions and recipes are entirely our own. Thank you for supporting The Real Simple Good Life and our partners.
What are the best gluten free flours for a pear cobbler recipe
For this healthy pear cobbler recipe, we used Bob’s Red Mill Almond Flour and Tapioca Flour. Both flours are certified gluten free and non-gmo, too. The Almond Flour is made from whole, blanched almonds and for baking, I prefer to use blanched almond flour versus almond meal. It helps to make the texture light and fluffy. And the tapioca flour helps to give the edges a little bit of a crispy, browned texture.
We turn to Bob’s Red Mill for gluten free and Paleo friendly baking flours and have for many years now. You’ll see us using their flours in lots of our recipes – from sweet recipes like this pear cobbler or our gluten free homemade snickerdoodles to healthy muffins like our lemon poppy seed muffins to savory dishes like our creamy Tuscan chicken! We love the quality of their products from mill to table and the fact that they’re a local Oregon company!
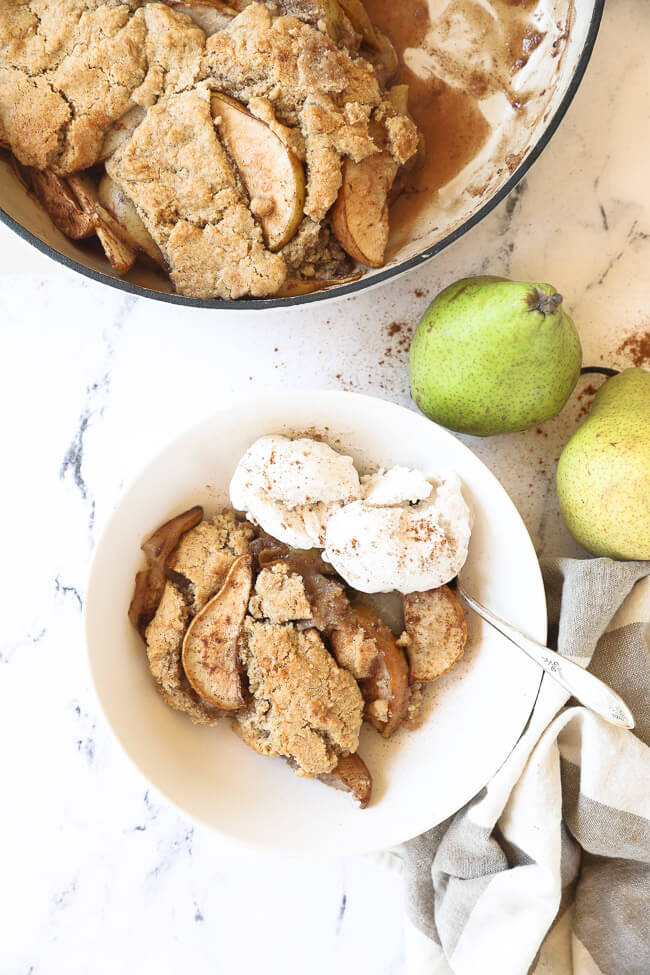
What pears are best for a pear cobbler?
We love to use fresh pears – not canned. As far as which variety of fresh pears to use, take your pick! Just about any will do, so if you have a favorite go for that. We like bartlett, bosc or d’anjou. Really though, whatever is convenient and you like, go for that!
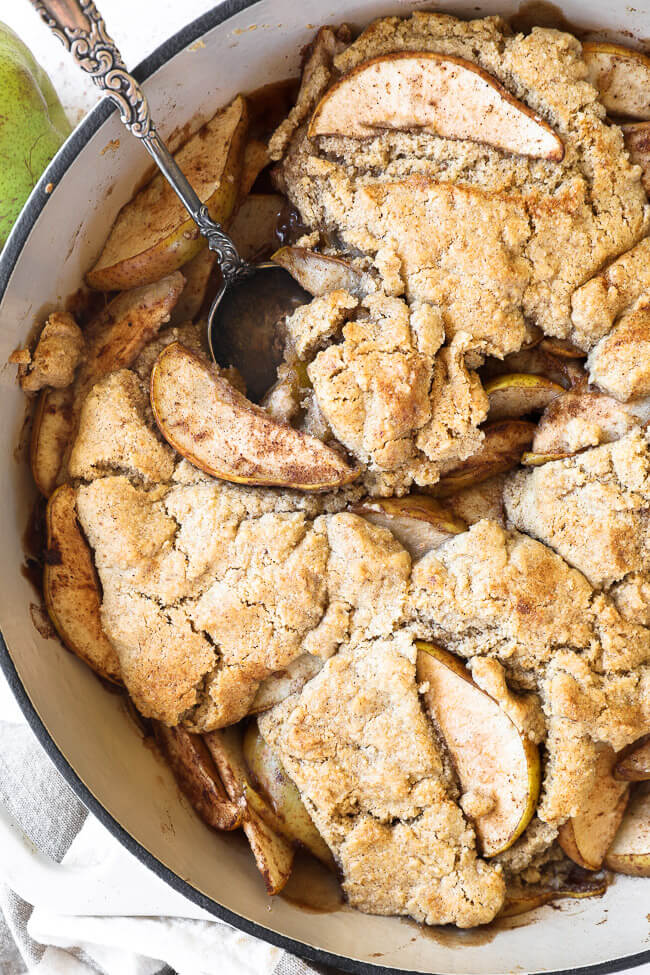
How do you make a cobbler topping?
To make the topping for this pear cobbler, you just need a mixing bowl and some basic Paleo pantry ingredients.
- Add all the dry topping ingredients to the bowl and give it a good whisk to make sure it’s all mixed well.
- Cut the ghee (or coconut oil for Vegan) into the dry mixture. This just means use a fork and mix the ghee in until the mixture is crumbly.
- Add the non-dairy milk and continue to mix until a batter forms.
- That’s it! Now it’s ready to be put on top of the pear mixture and baked!
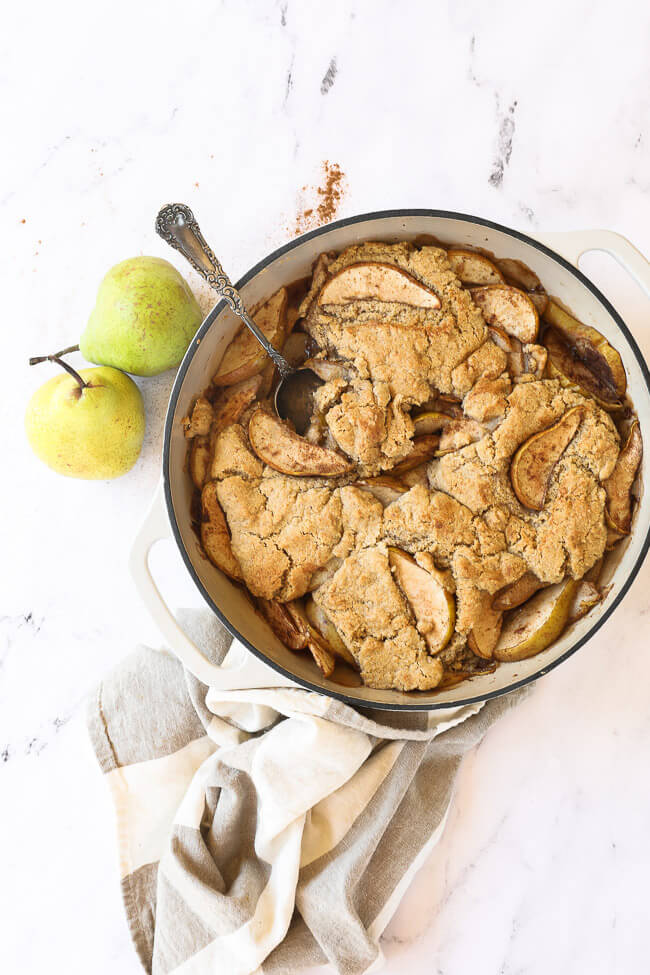
Some other apple and pear desserts and recipes
- EASY BAKED PEARS
- GLUTEN-FREE APPLE CAKE
- APPLE CINNAMON COOKIES
- PEAR AND BACON BITES
- INSTANT POT PORK CHOPS WITH APPLE BALSAMIC TOPPING
Time to make this easy, healthy pear cobbler
Whether you are thinking about doing an easy baking project over the weekend or want to make a great dessert to entertain, make this gluten free pear cobbler! Everyone will love the sweet treat! Leave a comment and rating below to let us know how it goes. And don’t forget to take a pic to share on Instagram. Tag us @realsimplegood so we can check it out! We love to see what you’re making!
Like this Recipe?
SHARE IT NOW OR PIN IT FOR LATER!
Healthy Gluten Free Pear Cobbler Recipe
Ingredients
For the cobbler topping:
- 1.25 cups Bob's Red Mill almond flour
- 1/4 cup Bob's Red Mill tapioca flour, (also used in pear filling)
- 1/4 cup maple sugar, (or coconut sugar. also used in pear filling.)
- 2 tsp paleo baking powder
- 1/2 tsp cinnamon, (also used in pear filling)
- 1/4 tsp sea salt, (also used in pear filling)
- 1/4 cup ghee, room temperature, (or coconut oil for Vegan)
- 2 tbsp non-dairy milk, (almond, cashew, coconut, etc.)
For the pear filling:
- 6 cups pears, cored and sliced, (about 5-6 pears)
- 1 tbsp Bob's Red Mill tapioca flour
- 2 tbsp maple sugar
- 1 tsp cinnamon
- 1/2 tsp all spice
- 1/4 tsp nutmeg
- 1/4 tsp cardamom
- 1/4 tsp sea salt
Instructions
- Preheat oven to 350° Fahrenheit and grease a round pie dish or square baking dish.
- Core and slice pears and place in a large mixing bowl. Add the rest of the filling ingredients and toss. Dump into greased baking dish.
- In the same mixing bowl you just used, whisk together the dry ingredients for the cobbler topping.
- Using a fork, "cut" the ghee or coconut oil into the dry mixture. Just use the fork to mix the ghee or coconut oil in until the mixture is crumbly.
- Add non-dairy milk and continue to mix with fork until a batter forms. Set aside while you prep the pears.
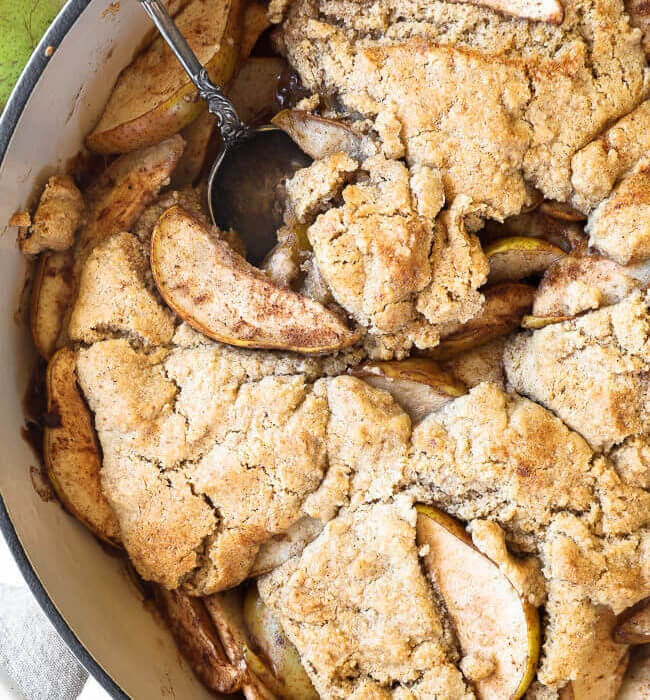
- Spoon batter over the pears and spread out a bit. Transfer to oven and bake for about 35 minutes, until the topping is golden brown. Remove from oven and let cool so it sets. Then, scoop some out and serve with non-dairy ice cream or whipped cream if you like.






I’ve made this many times already, so glad to finally have a go-to gluten free dessert that’s easy to make and super yummy. Thanks a lot for the recipe!
You’re very welcome! Thanks for giving our recipe a try and for coming back to share how it went! We appreciate your support. 🙂
Ok, I really liked it, but WAY too much salt 🙂
Glad you liked the flavor and hopefully you can adjust the salt to your liking next time 🙂
Really good! I might cut back the cardamom and all spice a smidge and up the cinnamon, but overall, really good!
So glad you enjoyed it! Thanks for taking the time to come back and share how it went! 🙂
This recipe was quick and easy and oh so delicious! I switched out the pears for apples because that is what I had on hand and I just loved it. It is such a lovely comfort food! This is a recipe that will definitely be on repeat!! Highly recommend giving it a try!!
Love hearing that you enjoyed it! And it works just as great with apples, berries, stone fruit…really whatever you have on hand! Thanks so much for giving our recipe a try and for taking the time to come back and leave a review. We appreciate your support!
I made this tonight and it was so so good. I didn’t have enough pears (only 4) so I added 2 apples. It was delicious and not time intensive. I’ll definitely be making this again.
So glad you enjoyed it! Thanks for sharing on IG and for taking the time to come back here to leave a review. Appreciate your support! 🙂
This recipe was so easy and SO DELICIOUS! Finding this felt like a HUGE WIN. I made it with slightly underripe pears which helped them stand up to the baking. The crust was light and perfect. I will be doubling this recipe to bring to our family “oudoor/distanced/2020 thanksgiving” and can’t wait to serve it!
Hooray! So glad to hear you enjoyed it! Thanks for giving it a try and for taking the time to come back and share. Hope the whole family loves it at Thanksgiving, too! 🙂