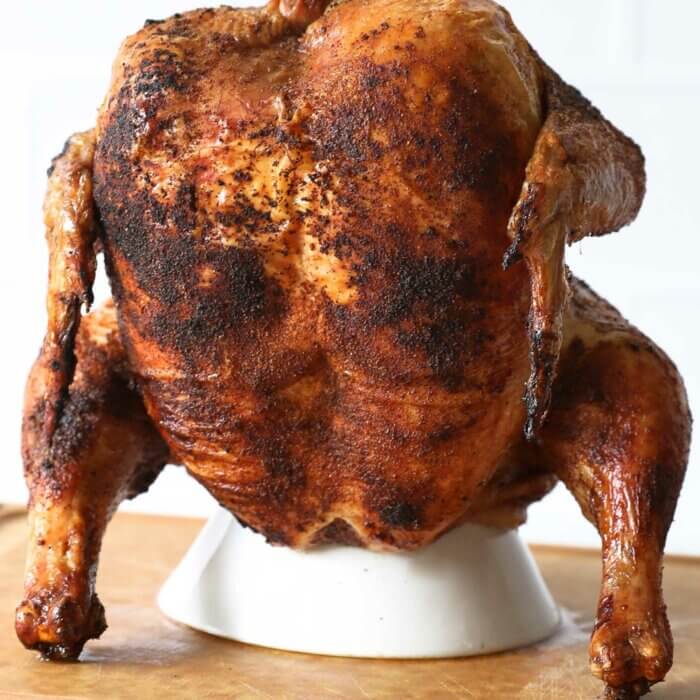
Why you’ll love a smoked beer can chicken
- It’s a super-easy whole chicken recipe for the Traeger or any other pellet grills like the pit boss, z-grill, or green mountain.
- You’ll get a juicy, smoky whole chicken with crispy skin in about 90 minutes.
- The simple chicken seasoning has amazing flavor and you might find yourself using it on everything.
- The beer keeps the chicken nice and moist so you’ll get tons of juicy cuts of chicken breast along with deliciously crispy drumsticks and wings.

Related ->> Try these Extra Crispy Traeger Chicken Wings
How to make beer can chicken step-by-step

Recipe notes and tips from an experienced grillmaster
I have personally made beer can chicken on the Traeger at least 50 (or more) times. Based on my experience, here are a few tips:
Beer – Any kind of beer will work. Cider, sparkling water and soda work too. You’re not really getting flavor from the beer, but the liquid helps to keep the chicken inside and breast moist.
Temperature – You can use the probe on the Traeger or an instant read meat thermometer to check the temperature. Always check a couple of spots, the middle of the breast and next to the breast bone are always the last to come to temperature for me.
Let it rest – Since you’re pulling the chicken at 160°, you need to let it rest to continue to cook to 165°. The resting also time allows the chicken to cool enough to handle/carve and help to retain the juices in the meat.
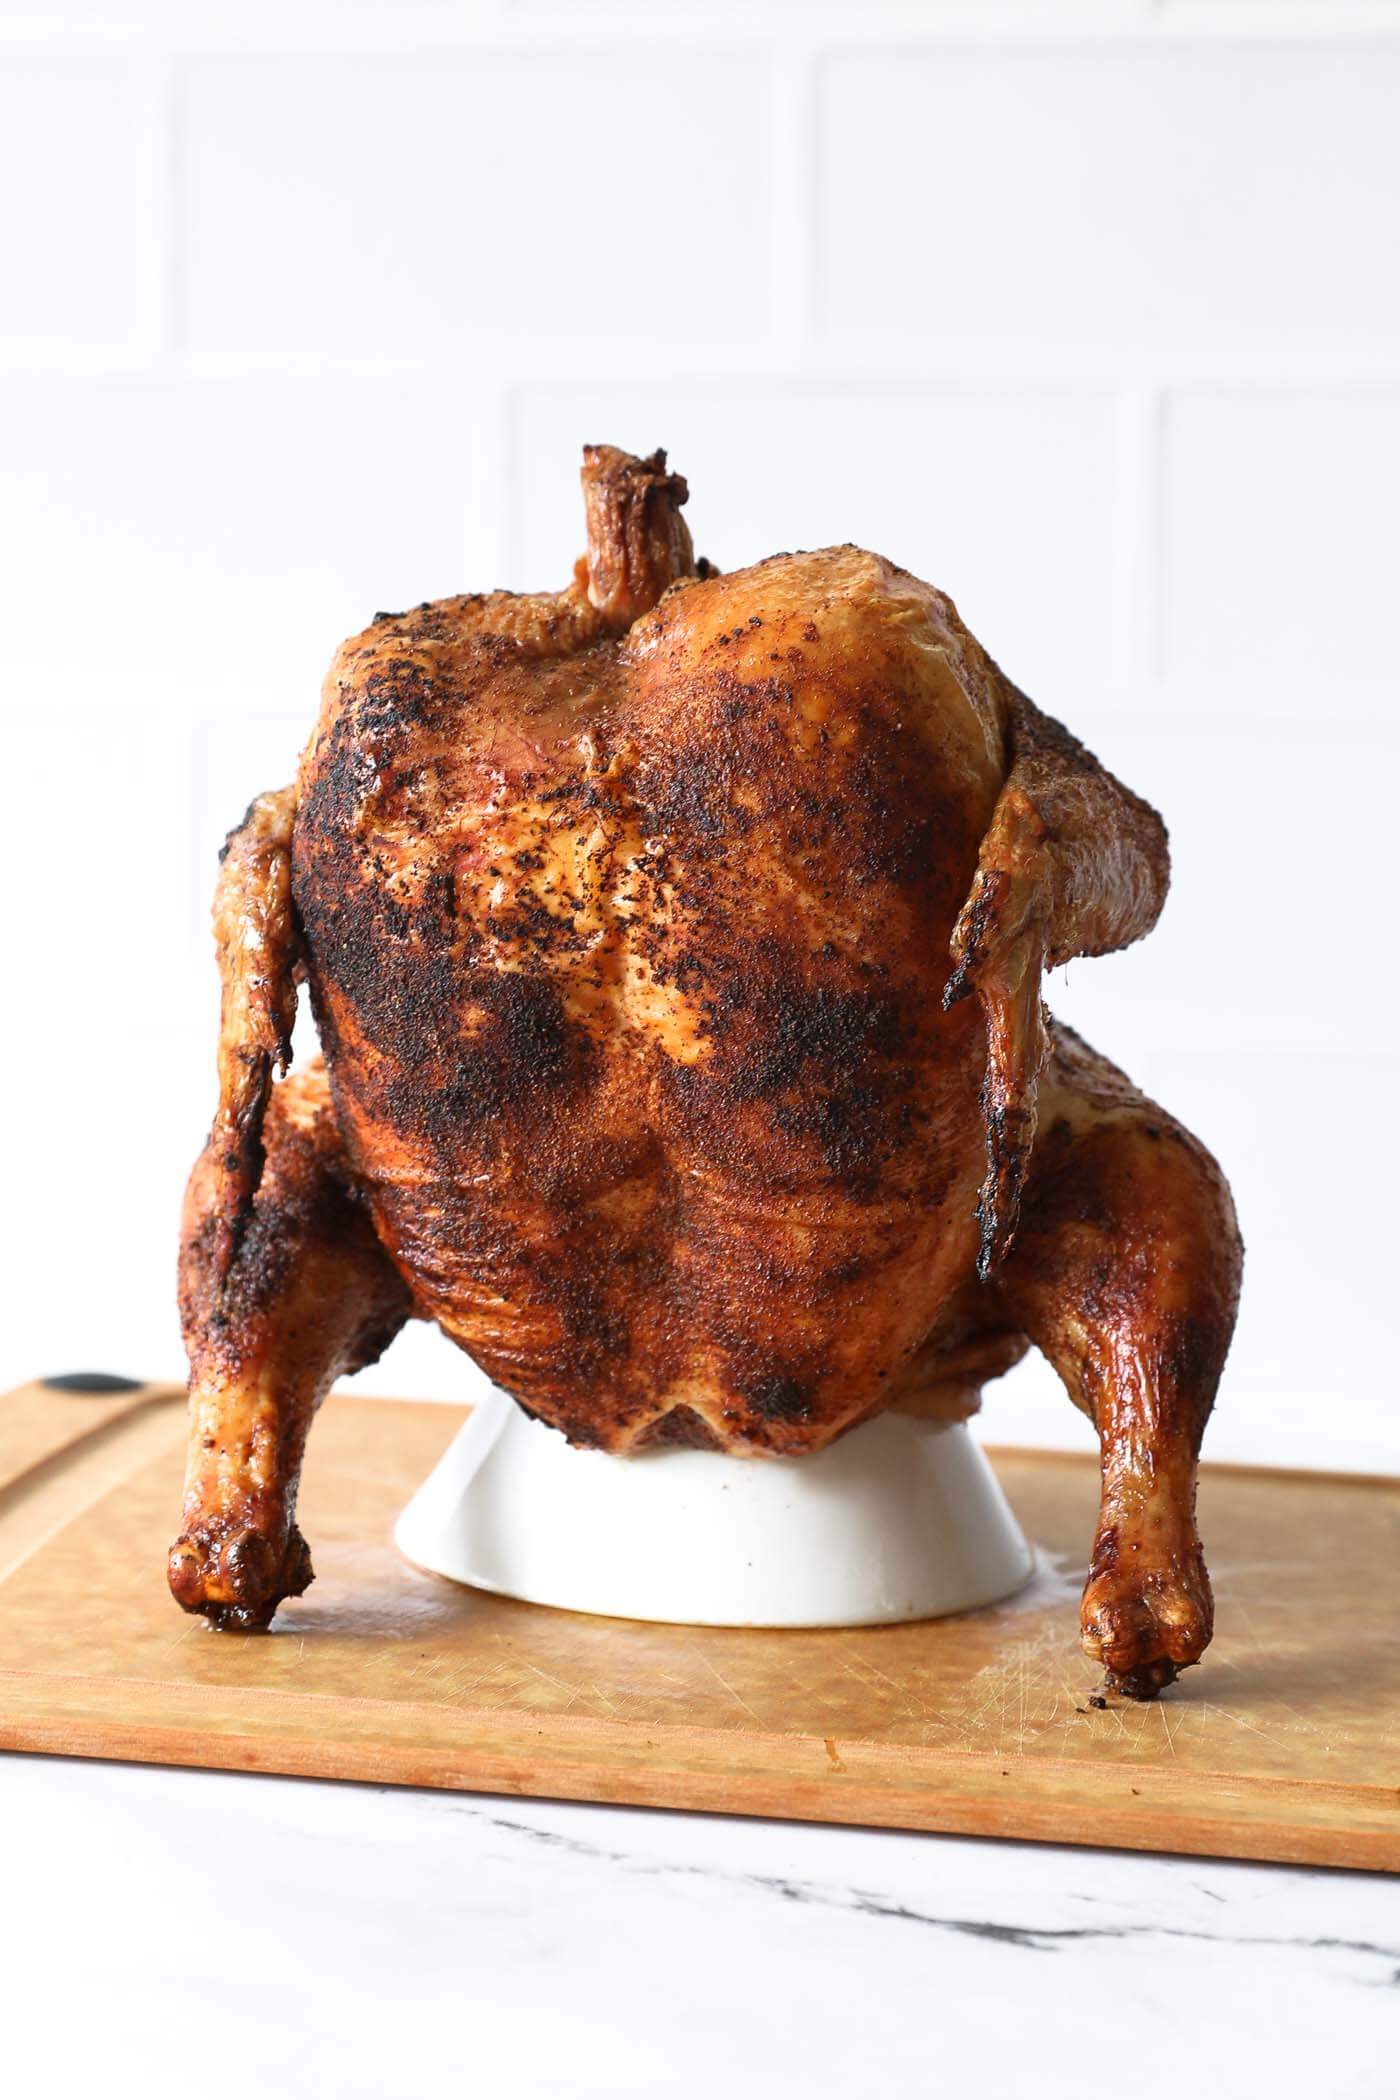
The hot can – When you remove the chicken from the grill, you’ll need to carefully pull out the hot can. Use two tongs as noted above to carefully do this without spilling (or dropping the chicken) and set the can aside to cool.
The transfer – Having someone standing close by with a cutting board is helpful when transferring a whole chicken from the grill. The last thing you want is to drop that perfectly cooked chicken!
Uses and serving recommendations
Eat this warm and juicy chicken with:
- A light & crunchy cucumber salad
- Some easy roasted mexican potatoes
- Rich and creamy coleslaw
- Bright and fresh tomato watermelon salad
Use the leftovers for:
- Some crunchy homemade chicken salad
- An easy crustless chicken pot pie
- Dairy-free buffalo chicken dip
- This easy Thai-inspired chicken salad
Final tips (storage, scaling + more)
- Storage – Store leftovers in an airtight container in the fridge. They will keep for 4-5 days.
- Scaling – You are already making one whole chicken, why not more? Do some batch meal prep or serve a large crowd by making 2-3 whole chickens if needed. Just adjust the scale in the recipe card!
- Chicken carcass – The leftover chicken carcass is great for making a chicken soup or some bone broth. Just put the carcass in a zip-top freezer bag and freeze it until you’re ready to use it.
Easy Traeger Beer Can Chicken (Crispy Skin!)
Ingredients
- 5 lb whole chicken
- 2 tbsp olive oil
- 1 can beer, (or cider, sparkling water, etc.)
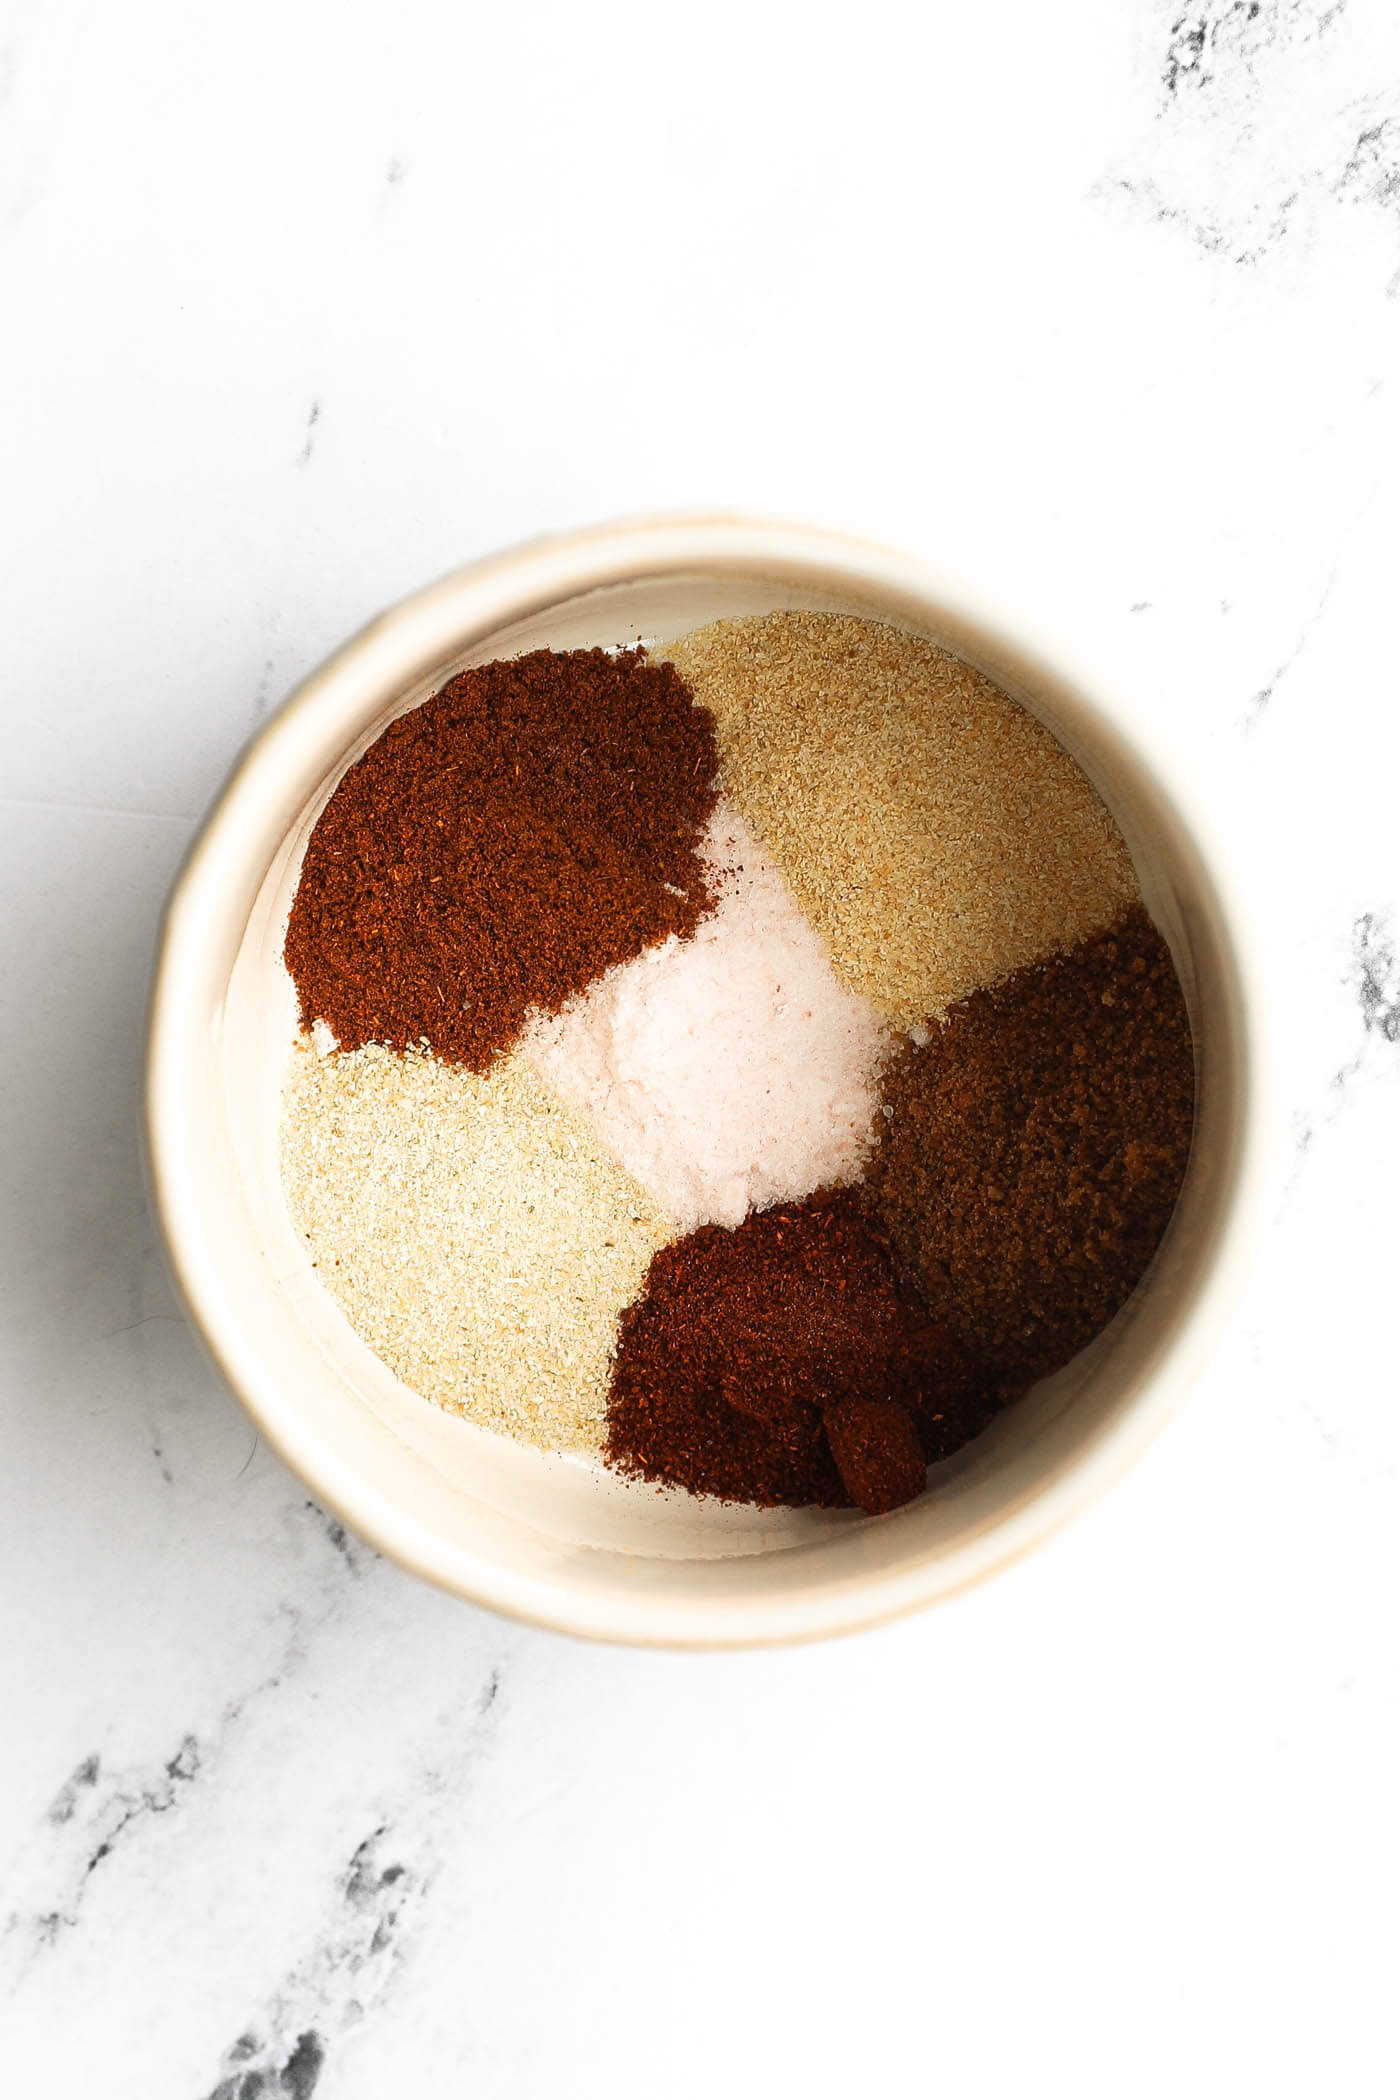
For the chicken seasoning:
- 2 tsp sea salt
- 1 tsp coconut sugar, (or brown sugar)
- 1 tsp paprika
- 1 tsp chili powder
- 1 tsp onion powder
- 1 tsp garlic powder
Equipment
Instructions
- Preheat your grill or pellet grill to 400° Fahrenheit.
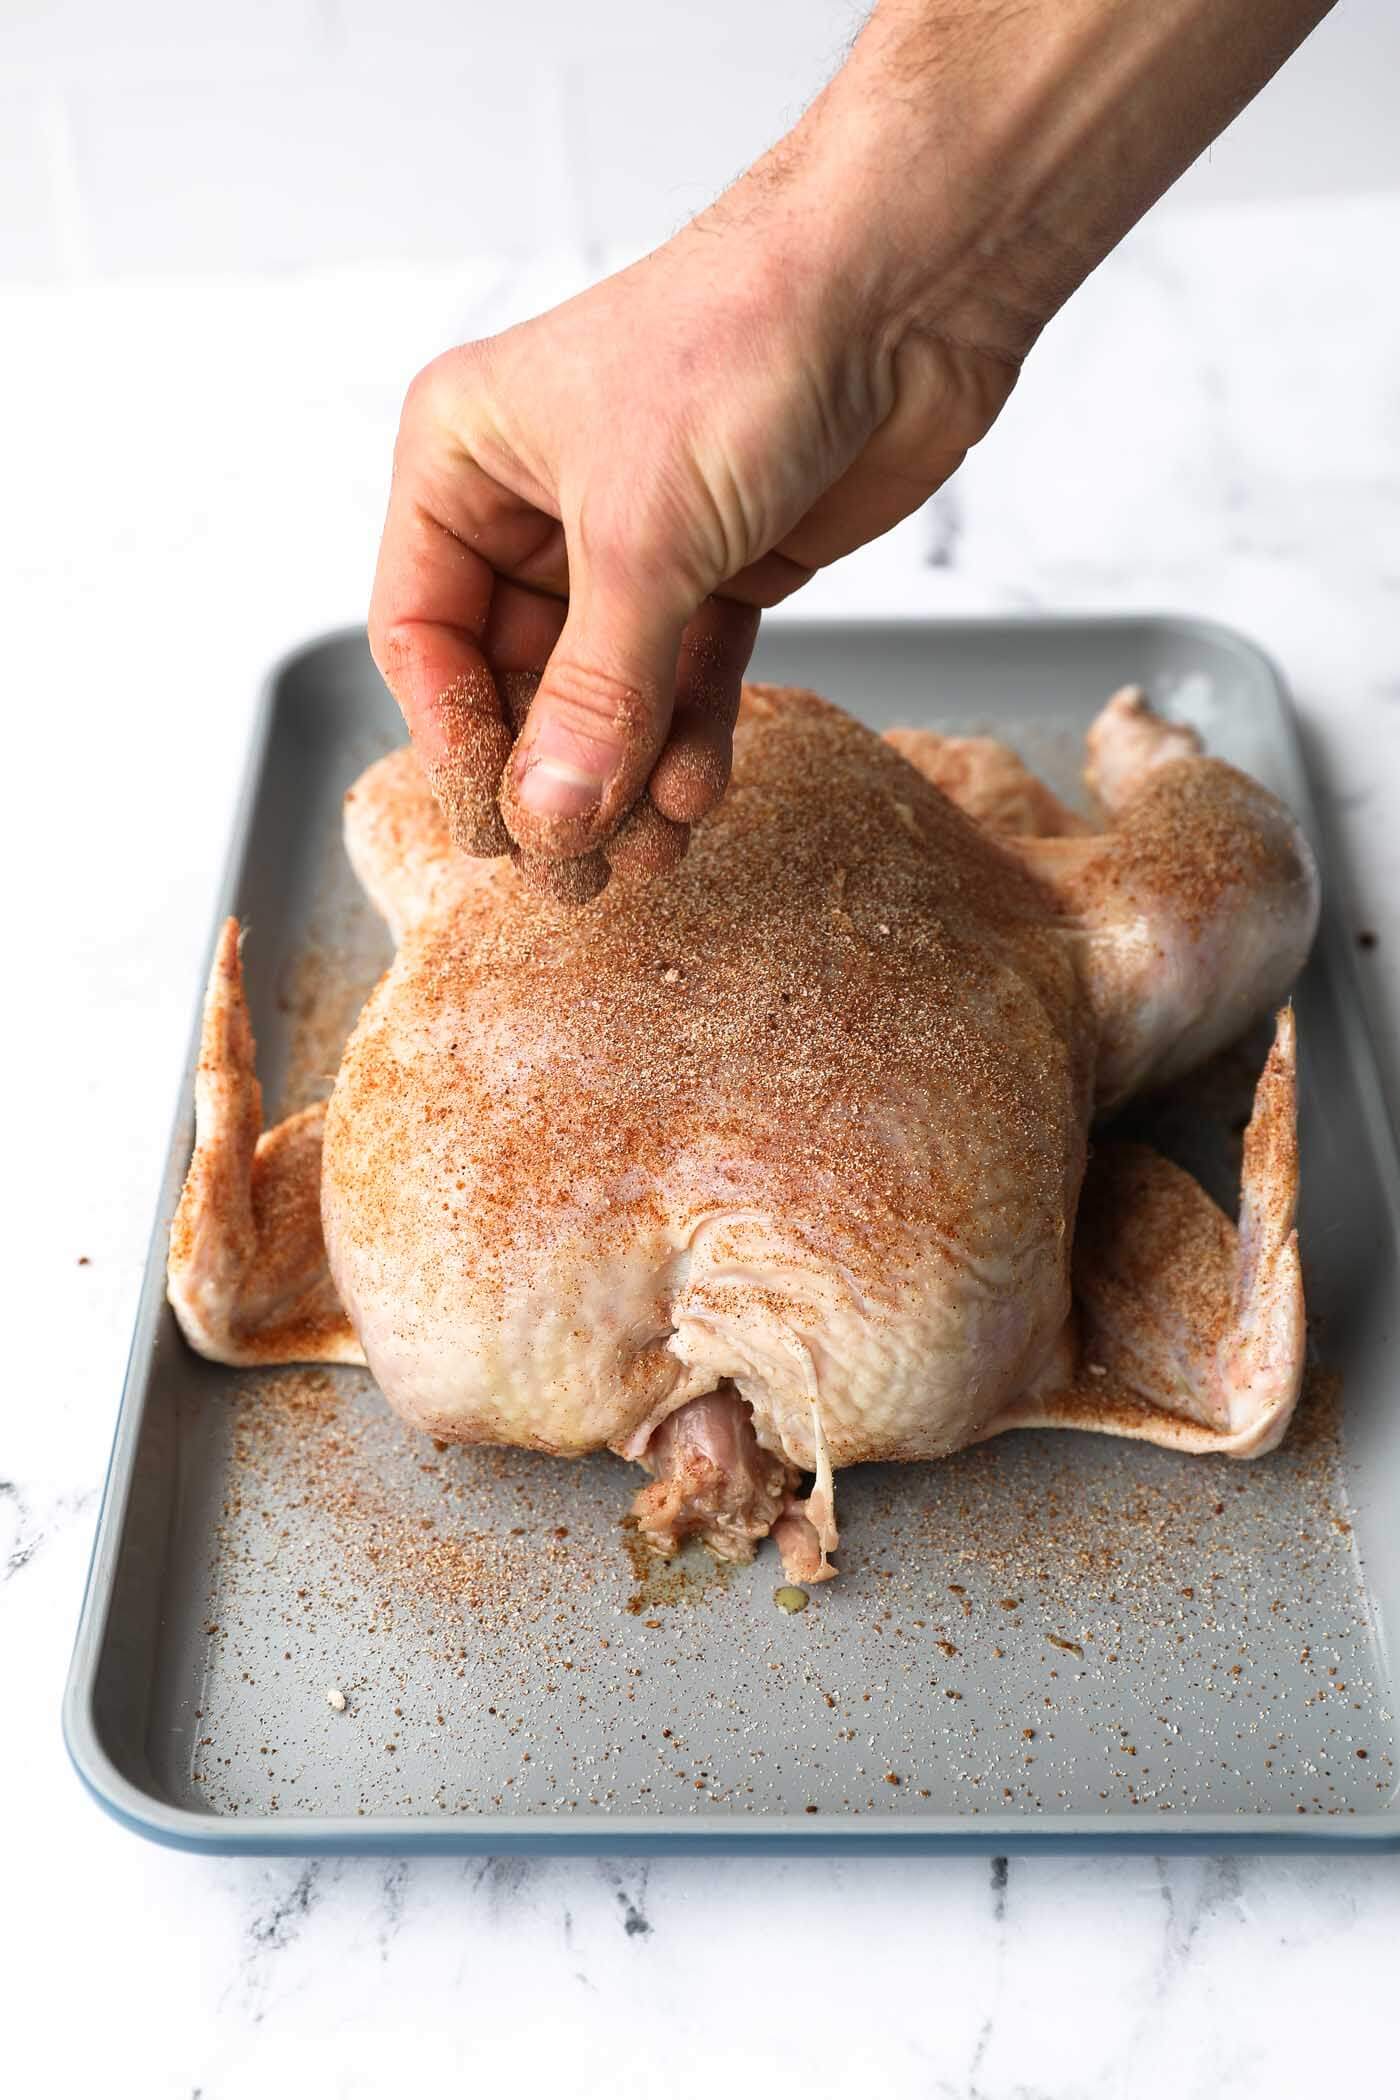
- Prepare the chicken seasoning by adding all of the ingredients to a small bowl or ramekin and mixing well.
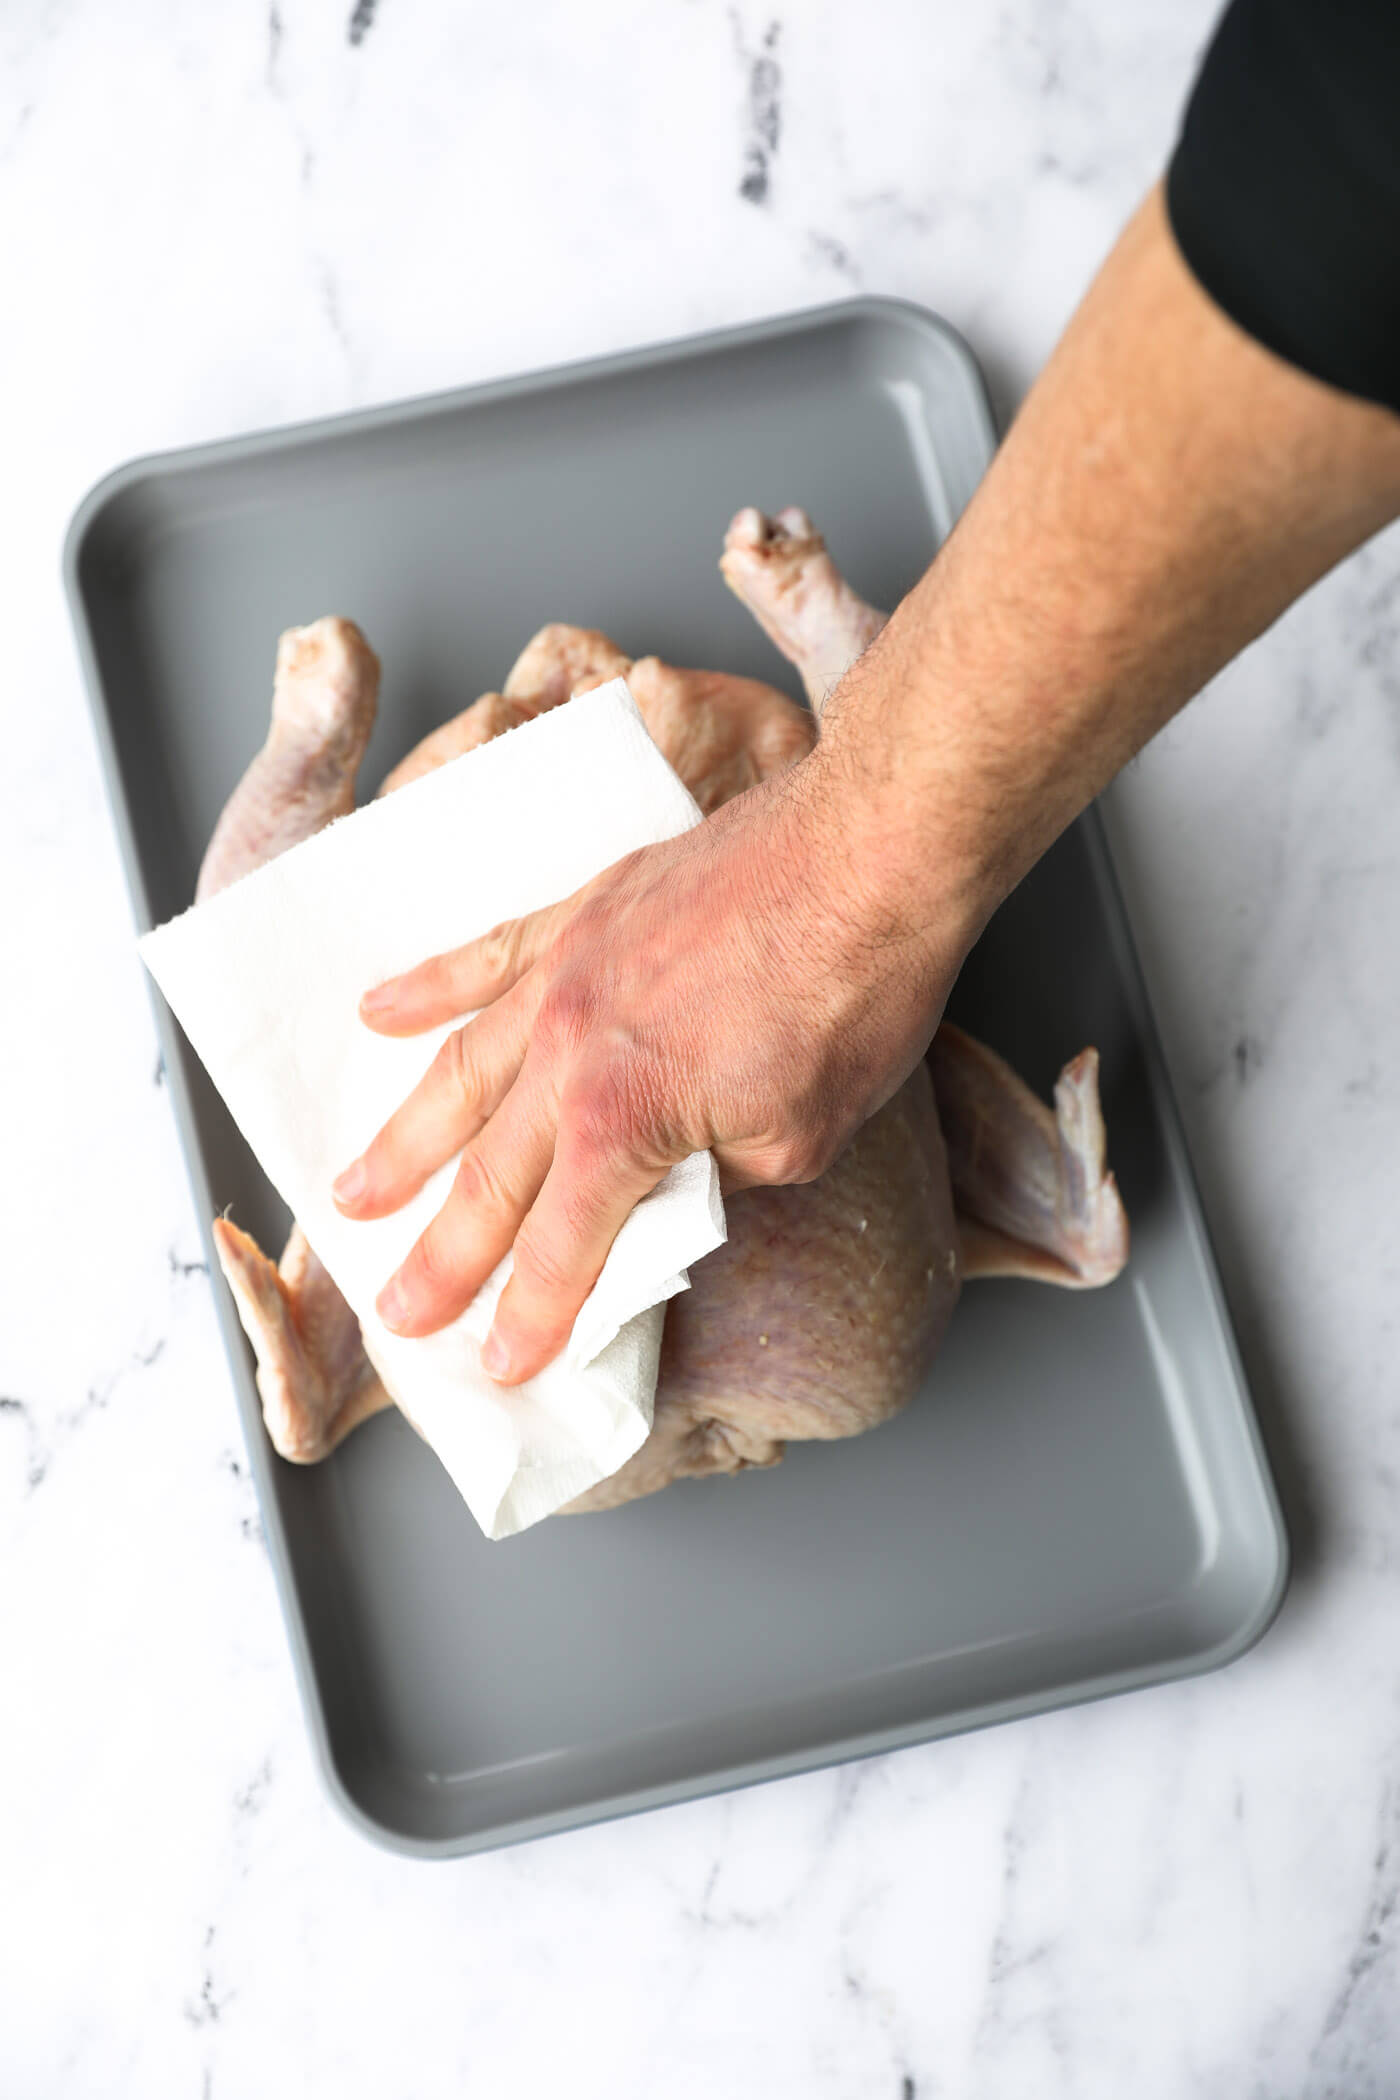
- Take the whole chicken out of any packaging, remove any giblets from the cavity, and place the chicken on a large plate or pan.
- Pat the chicken down completely with paper towels. You want the remove all moisture from the skin.
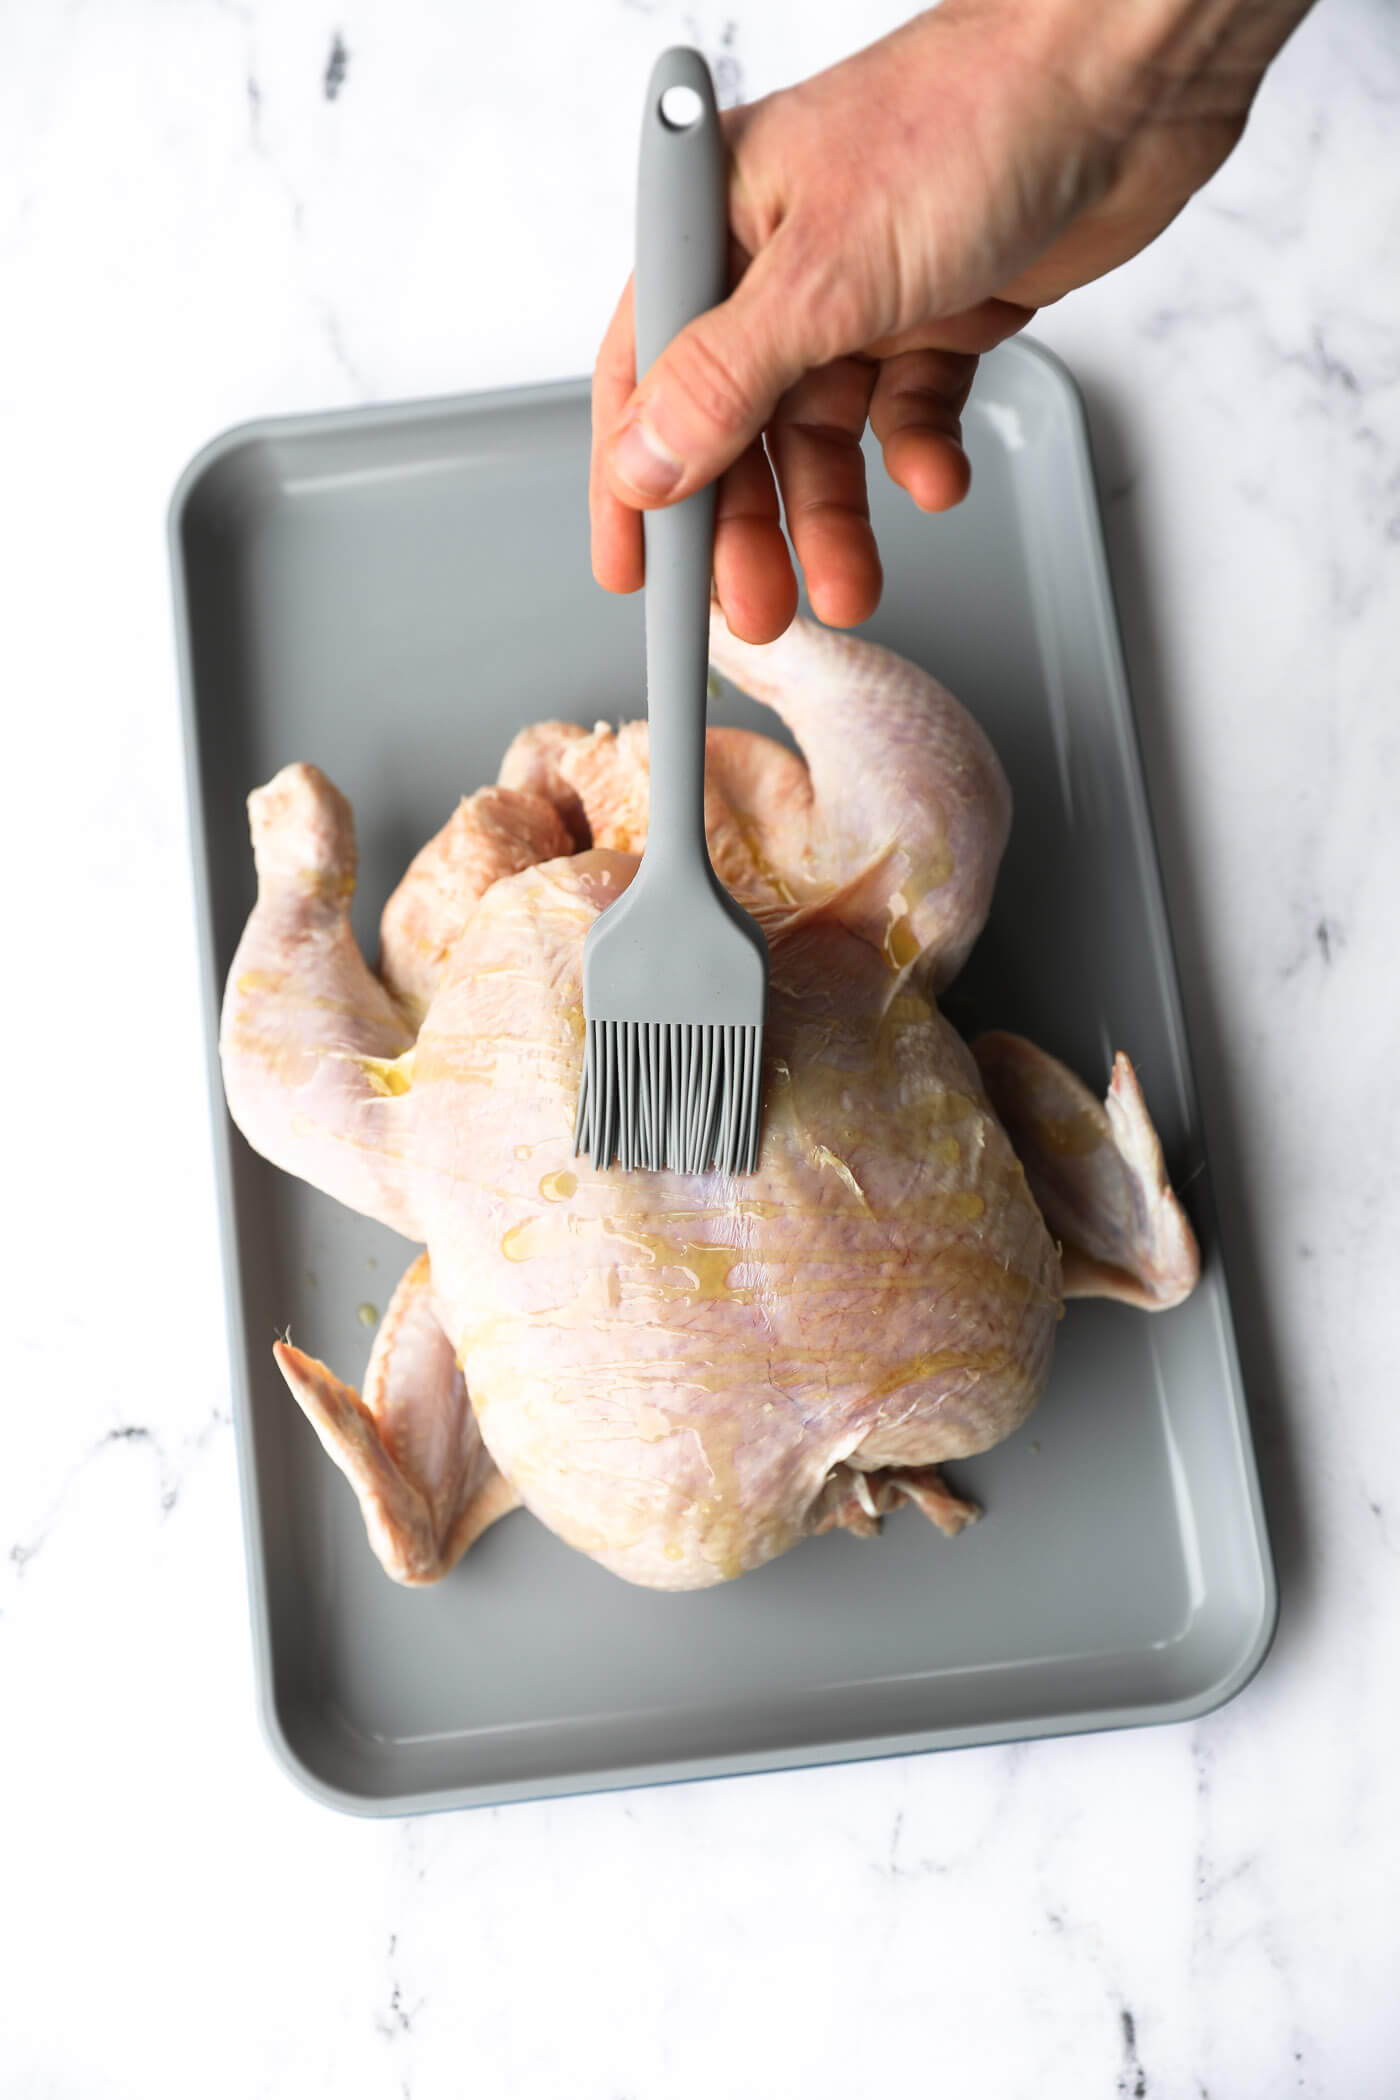
- Drizzle olive oil all over the chicken and brush or rub it all over the skin to coat the entire chicken. Then, sprinkle the chicken seasoning all over the entire chicken.
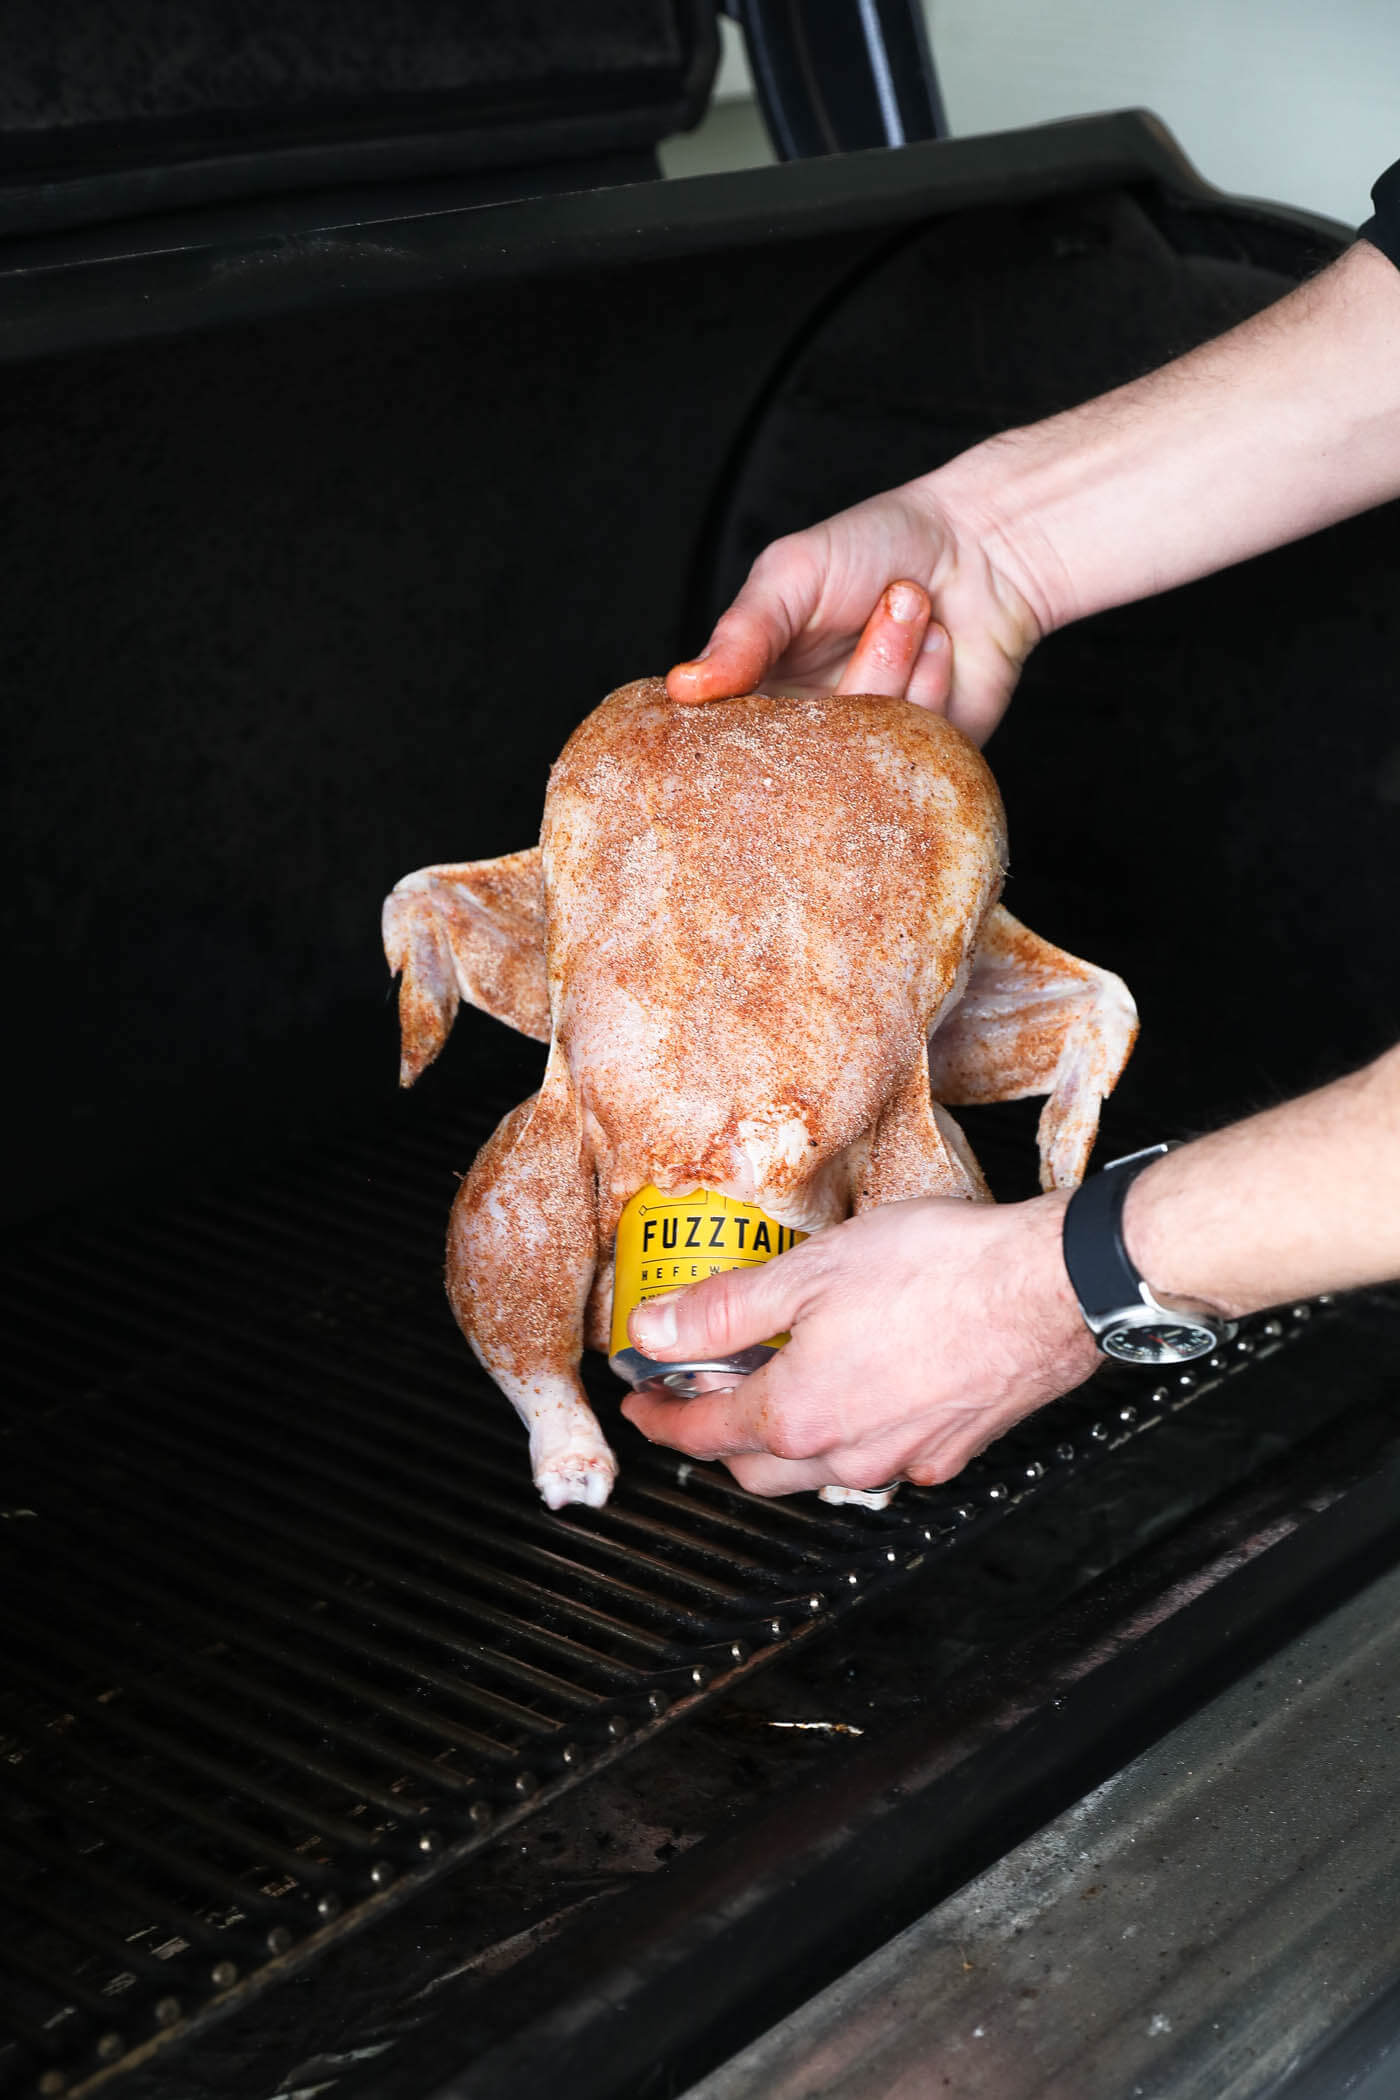
- Drink (or pour out) the beer until the can is just under halfway full.
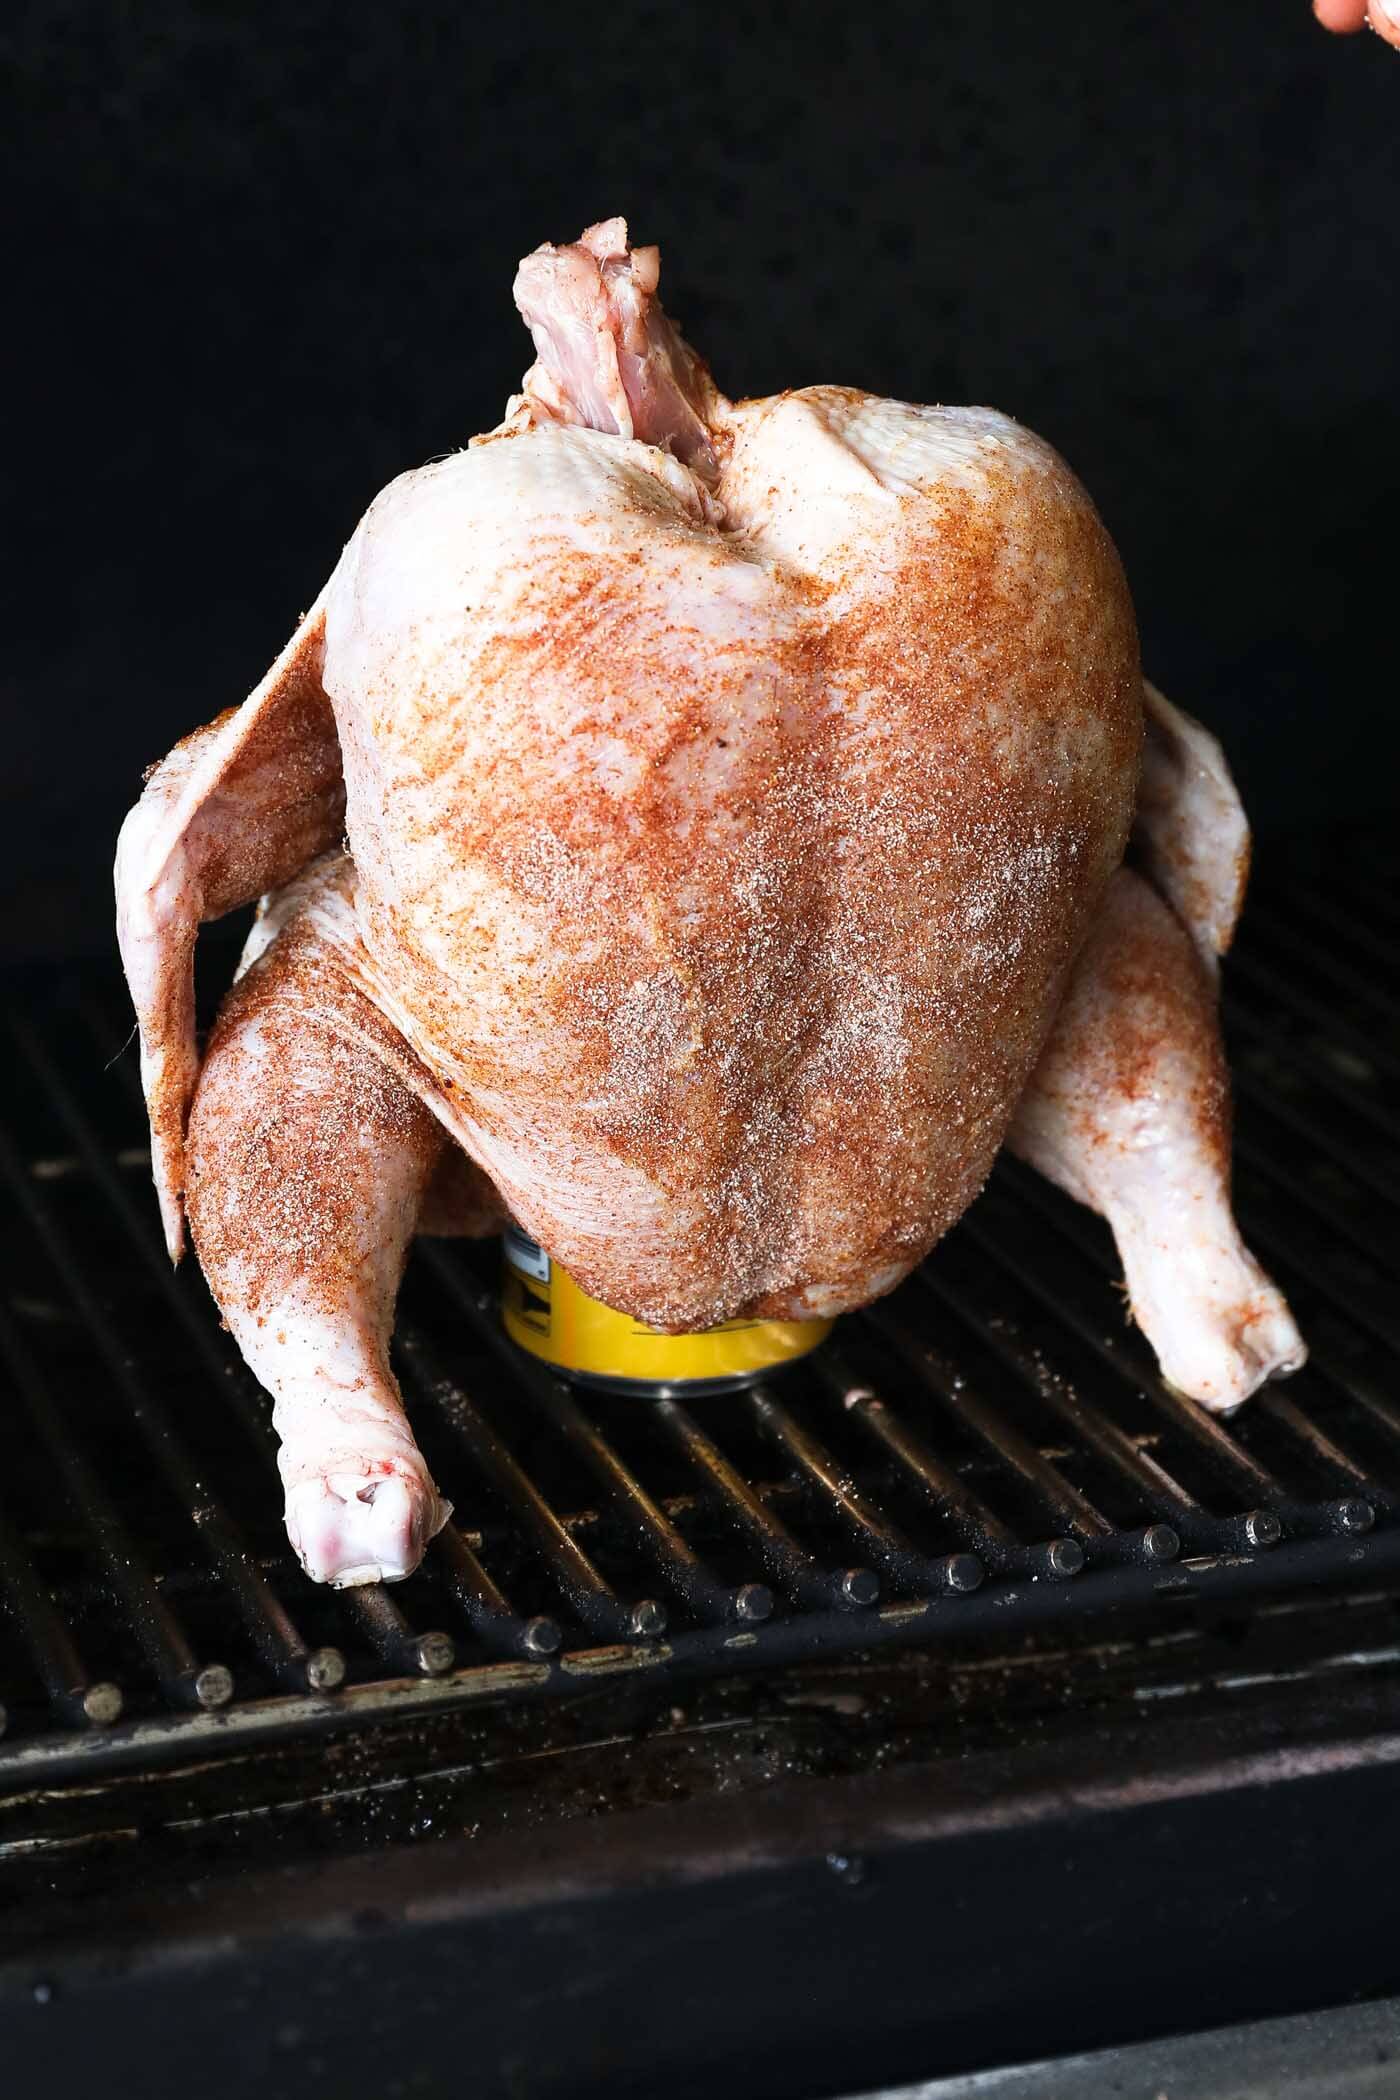
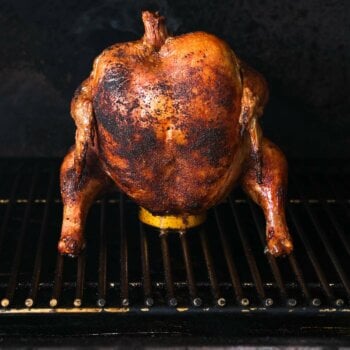
- Now, transfer the seasoned chicken to the grill. Stand the chicken up vertically and insert the can into the chicken cavity. Place the chicken on the grill and use the legs to balance the chicken. It should stand straight up.
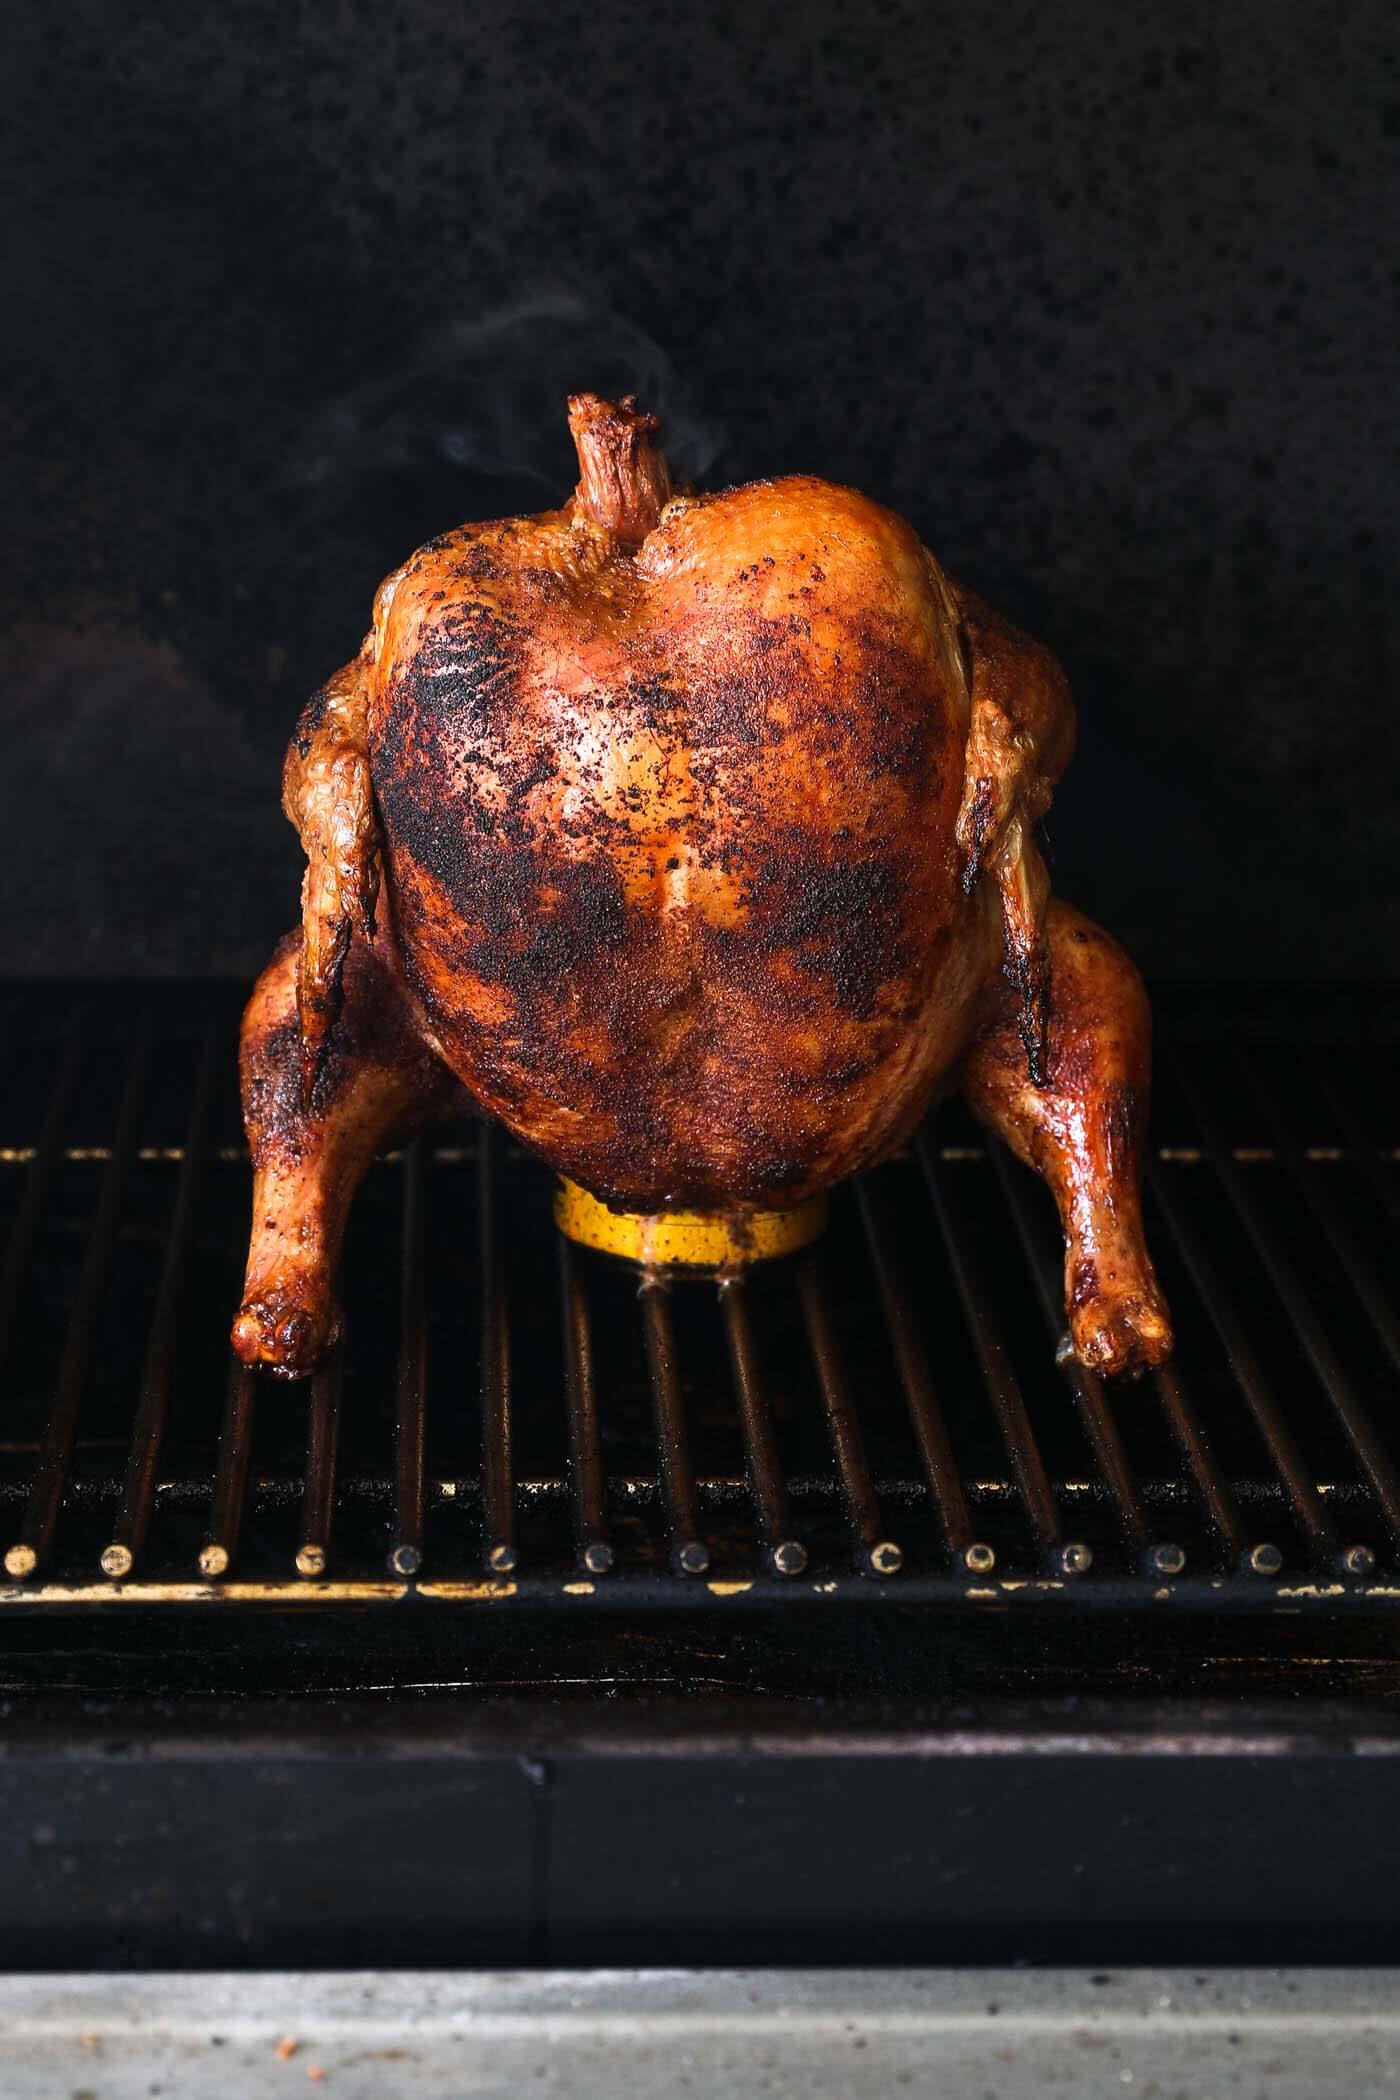
- Roast the chicken for about 60 minutes, or until the internal temperature reaches 160° Fahrenheit in the thickest part of the breast.
- Using two sets of tongs, hold the upper portion of the chicken steady with one pair of tongs and tip it to the side. With the other set of tongs, carefully grab and pull the beer can out of the chicken cavity.
- Place the chicken on a cutting board and let it rest for 10-15 minutes. The internal temperature will continue to rise to 165° Fahrenheit while resting. Carve the chicken and serve immediately.
Notes